How CCTV Logbook works
CCTV Logbook is a secure portal that enables CCTV system owners to manage their CCTV system and assets more efficiently. Due to the complex nature of IP CCTV systems and all of the elements that are included in the system, we have designed this portal to enable users and installers to manage all of their CCTV assets in one, secure place.
If you want to sign up click here – No Credit Card details required.
Need help with?…
Getting started: Adding Assets
CCTV Logbook works with all your devices. You can add every device on your CCTV network no matter what manufacturer or models you have.


The homepage of the CCTV Logbook portal will take you to the CCTV System Management where you will see the range of assets that will form your CCTV system. These are:
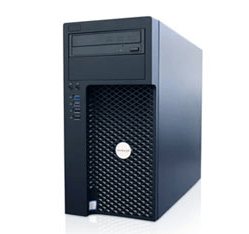
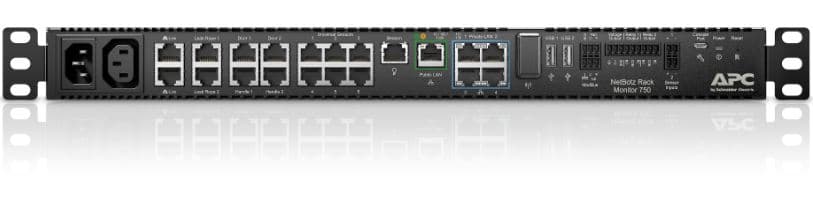
- Server
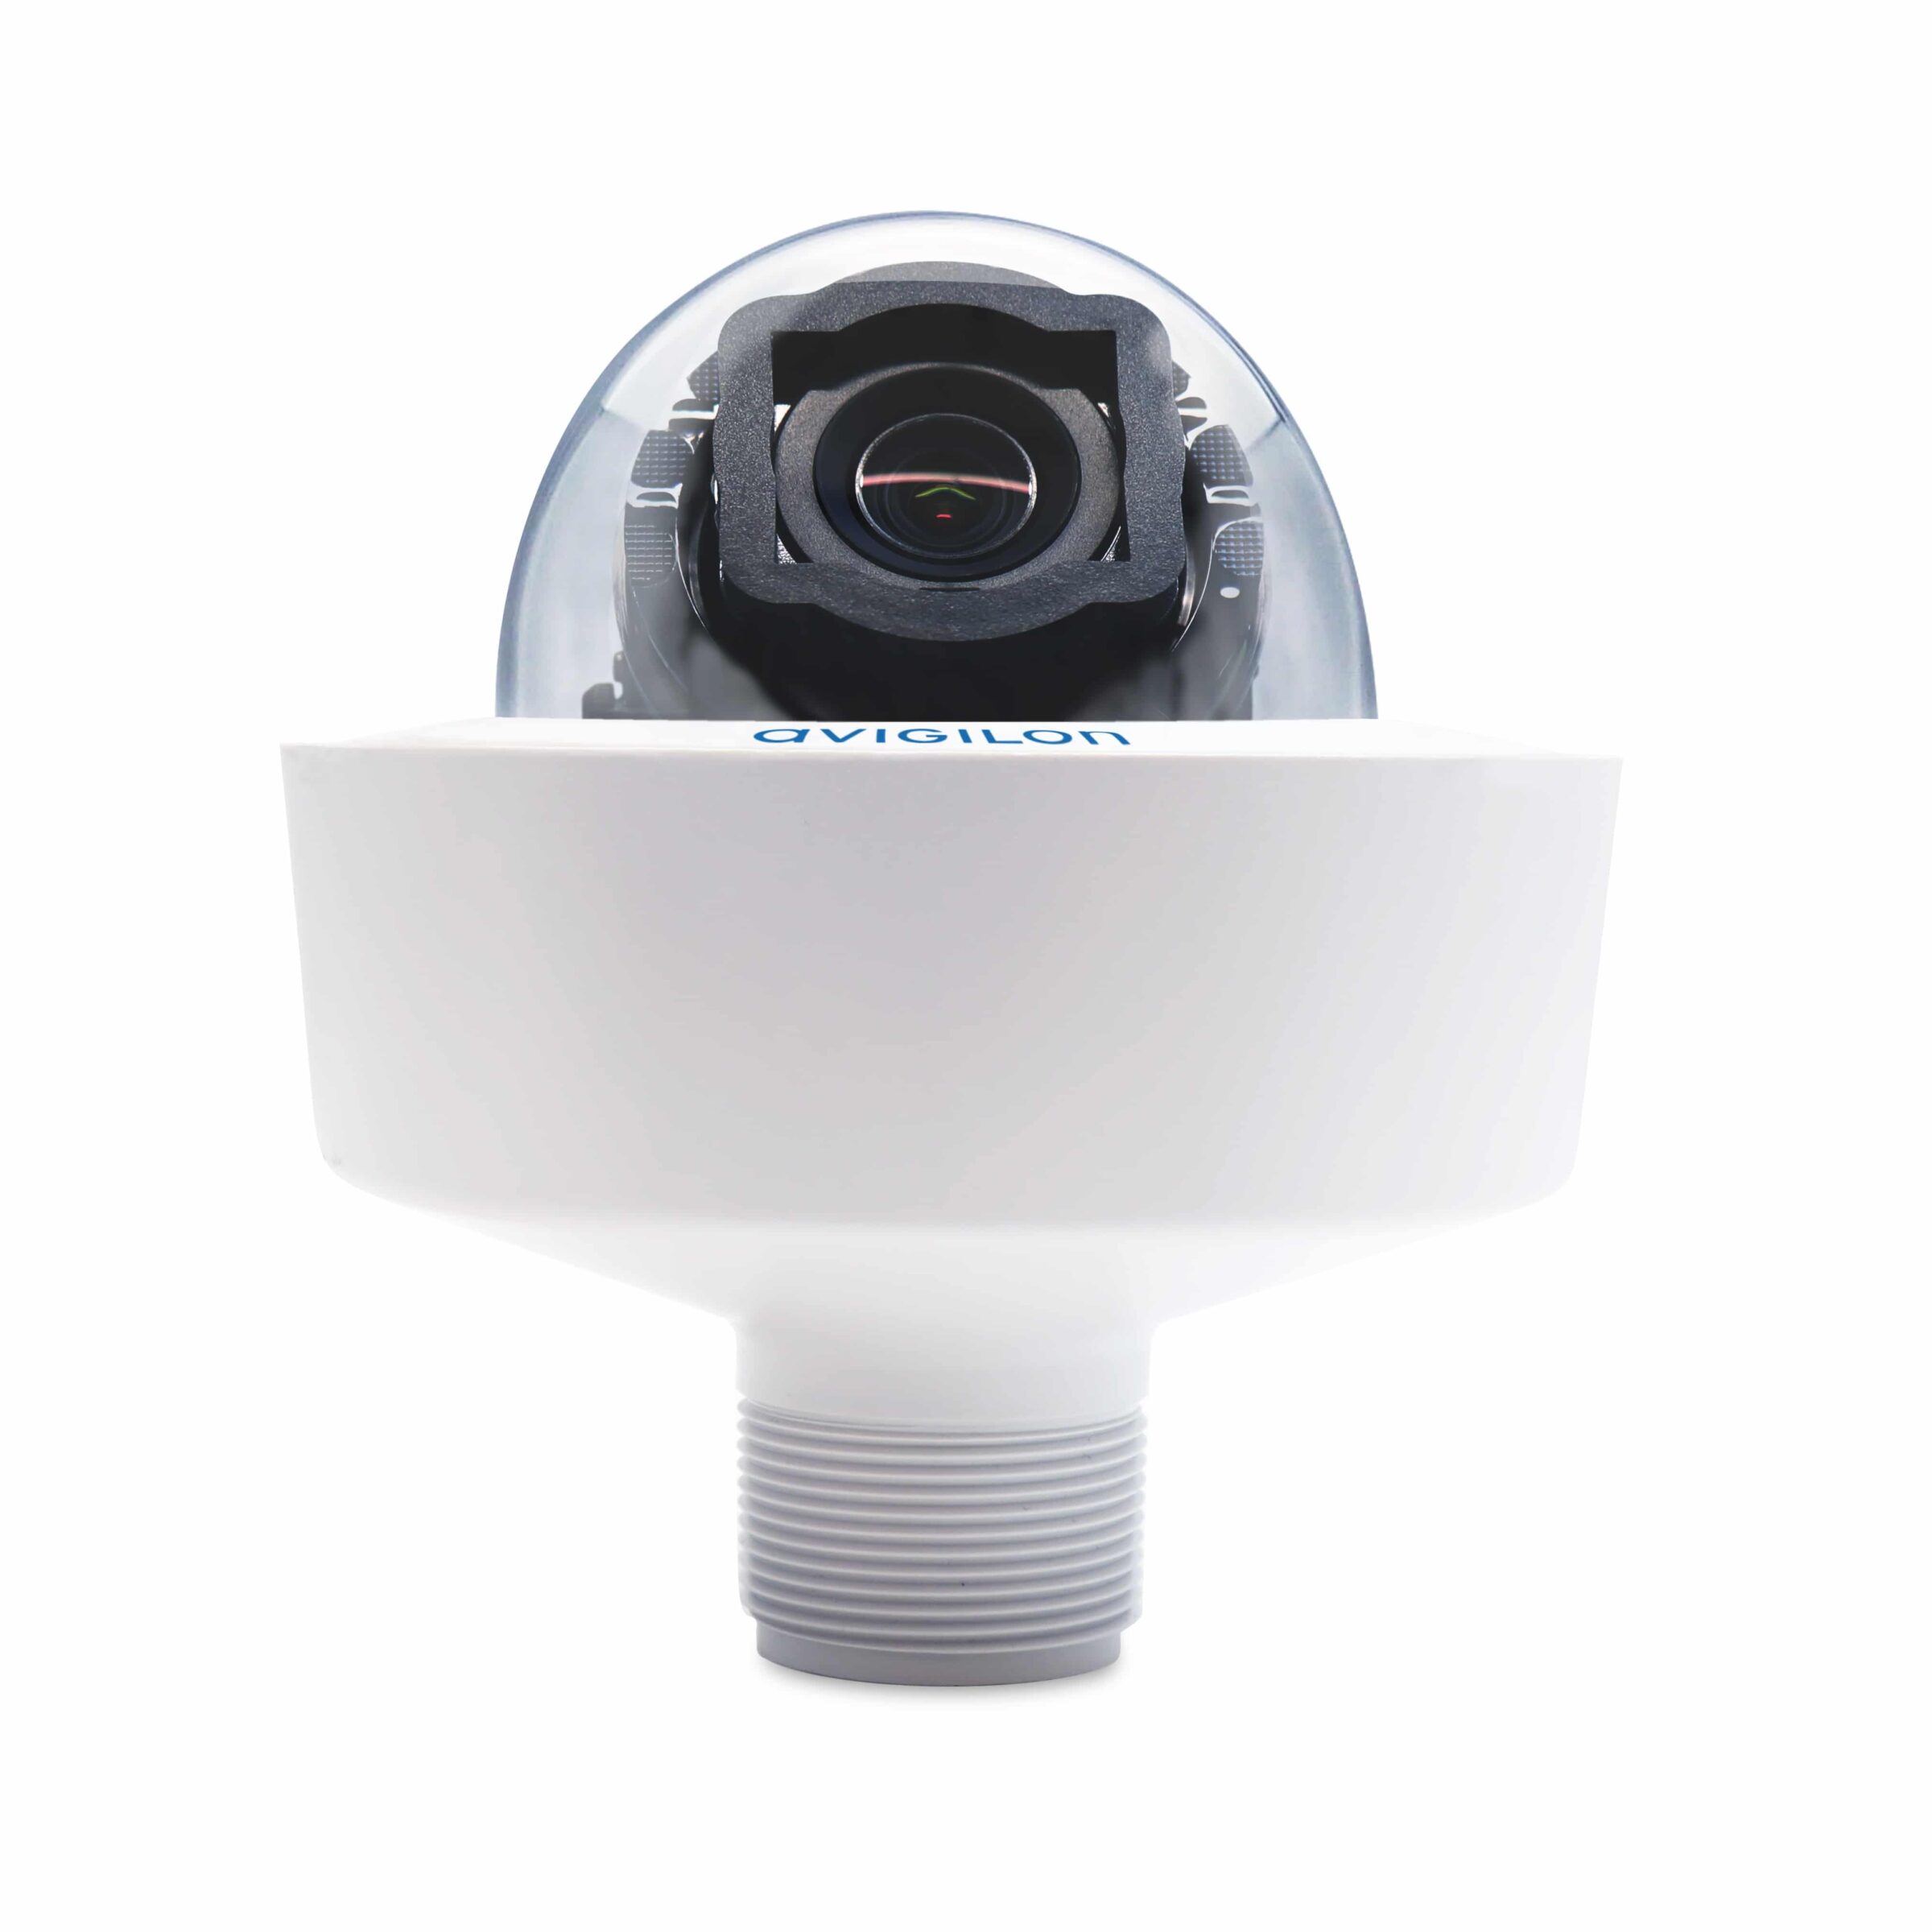
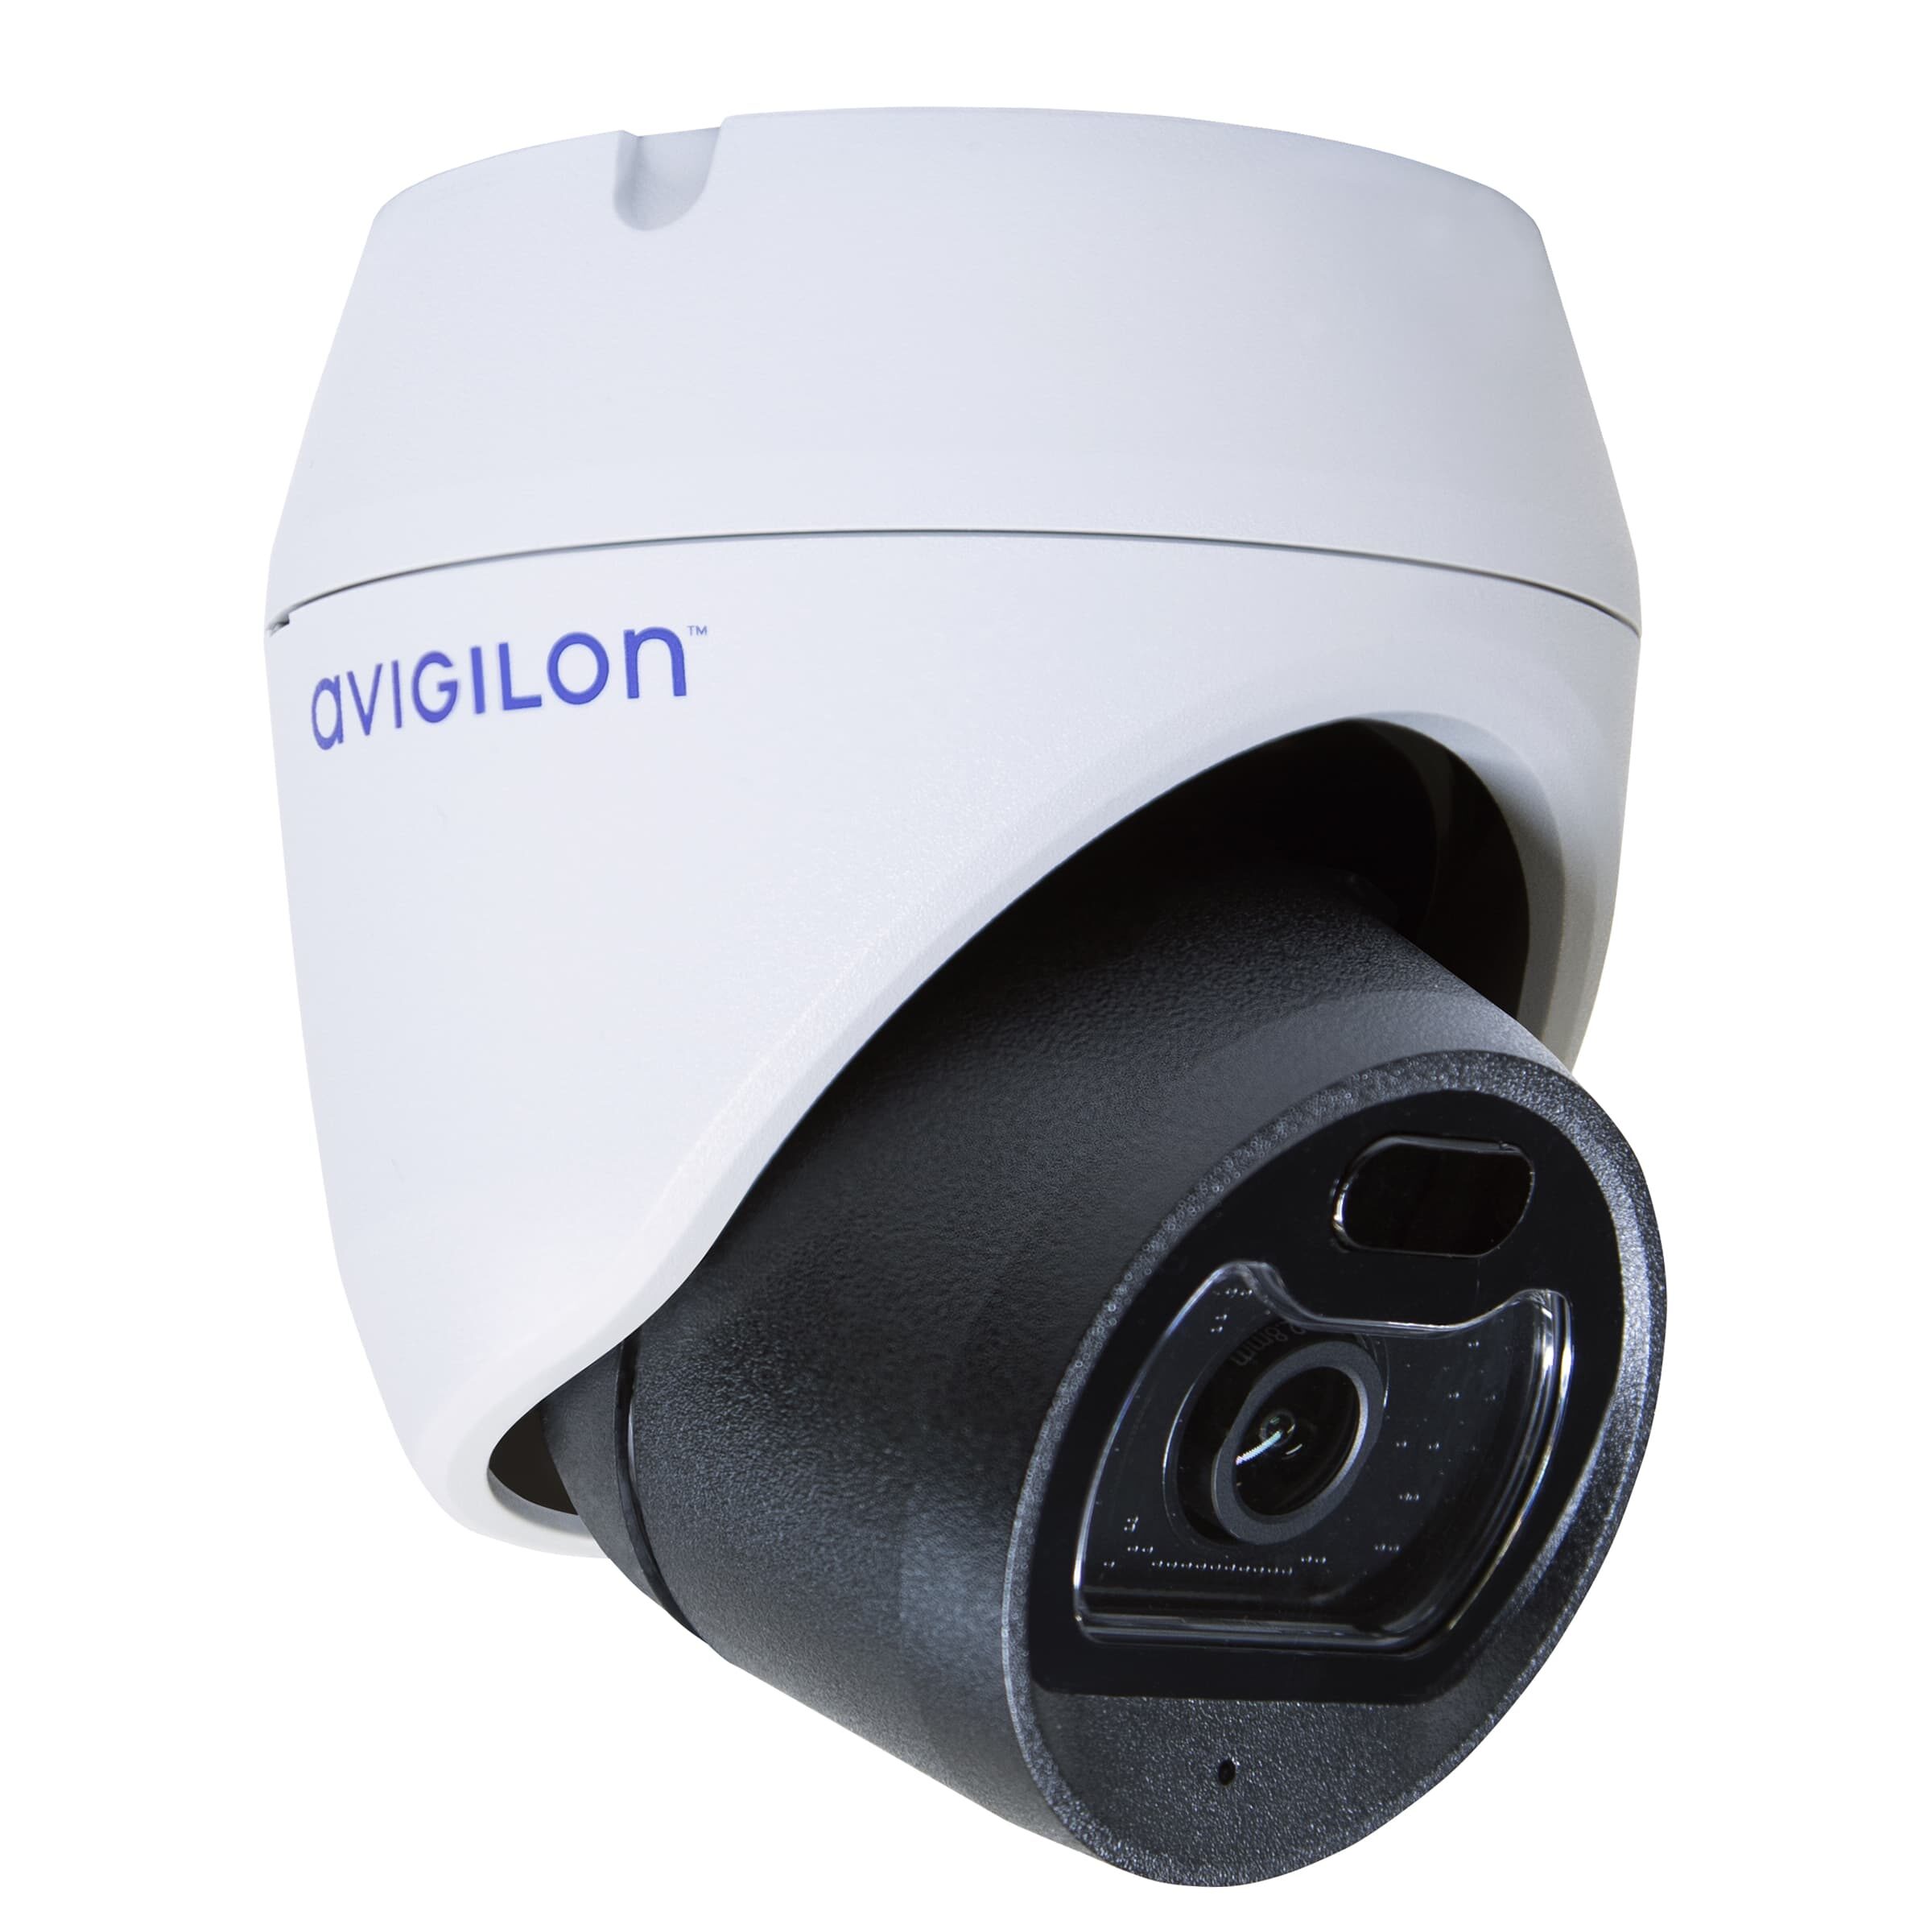
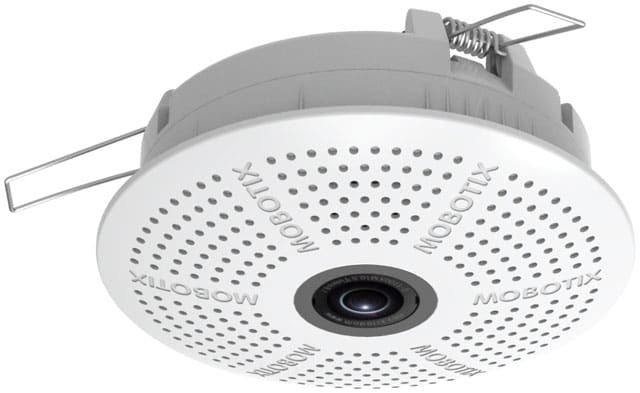
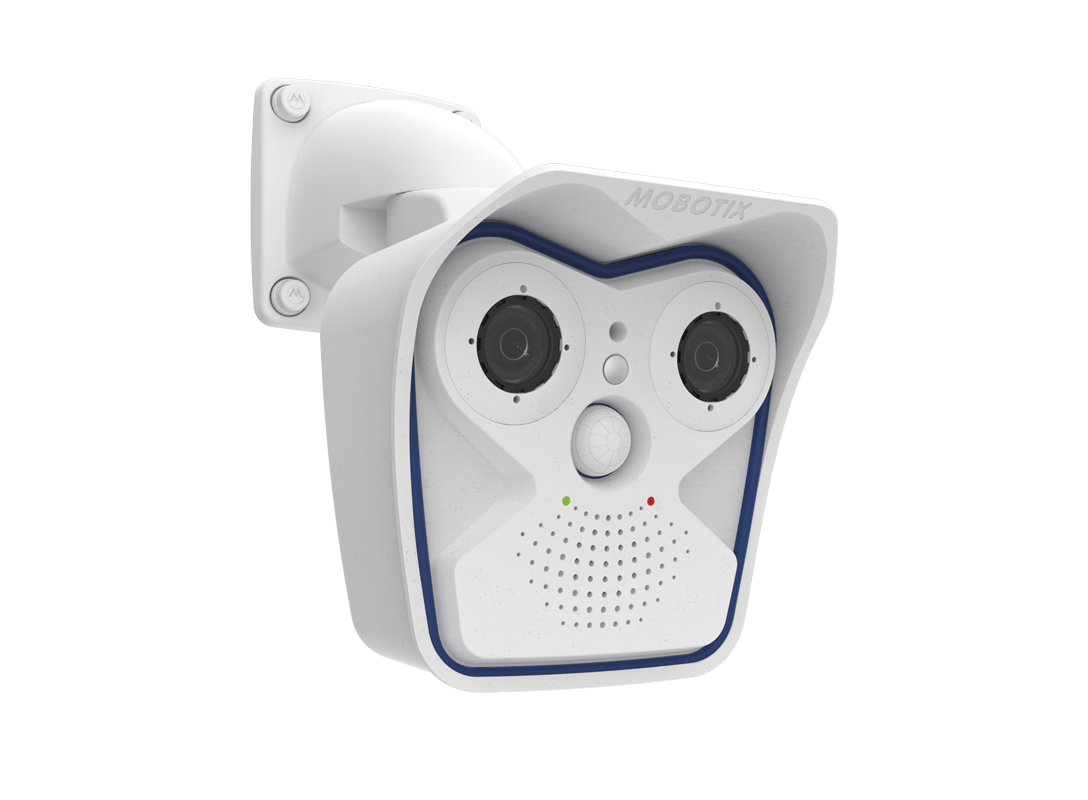
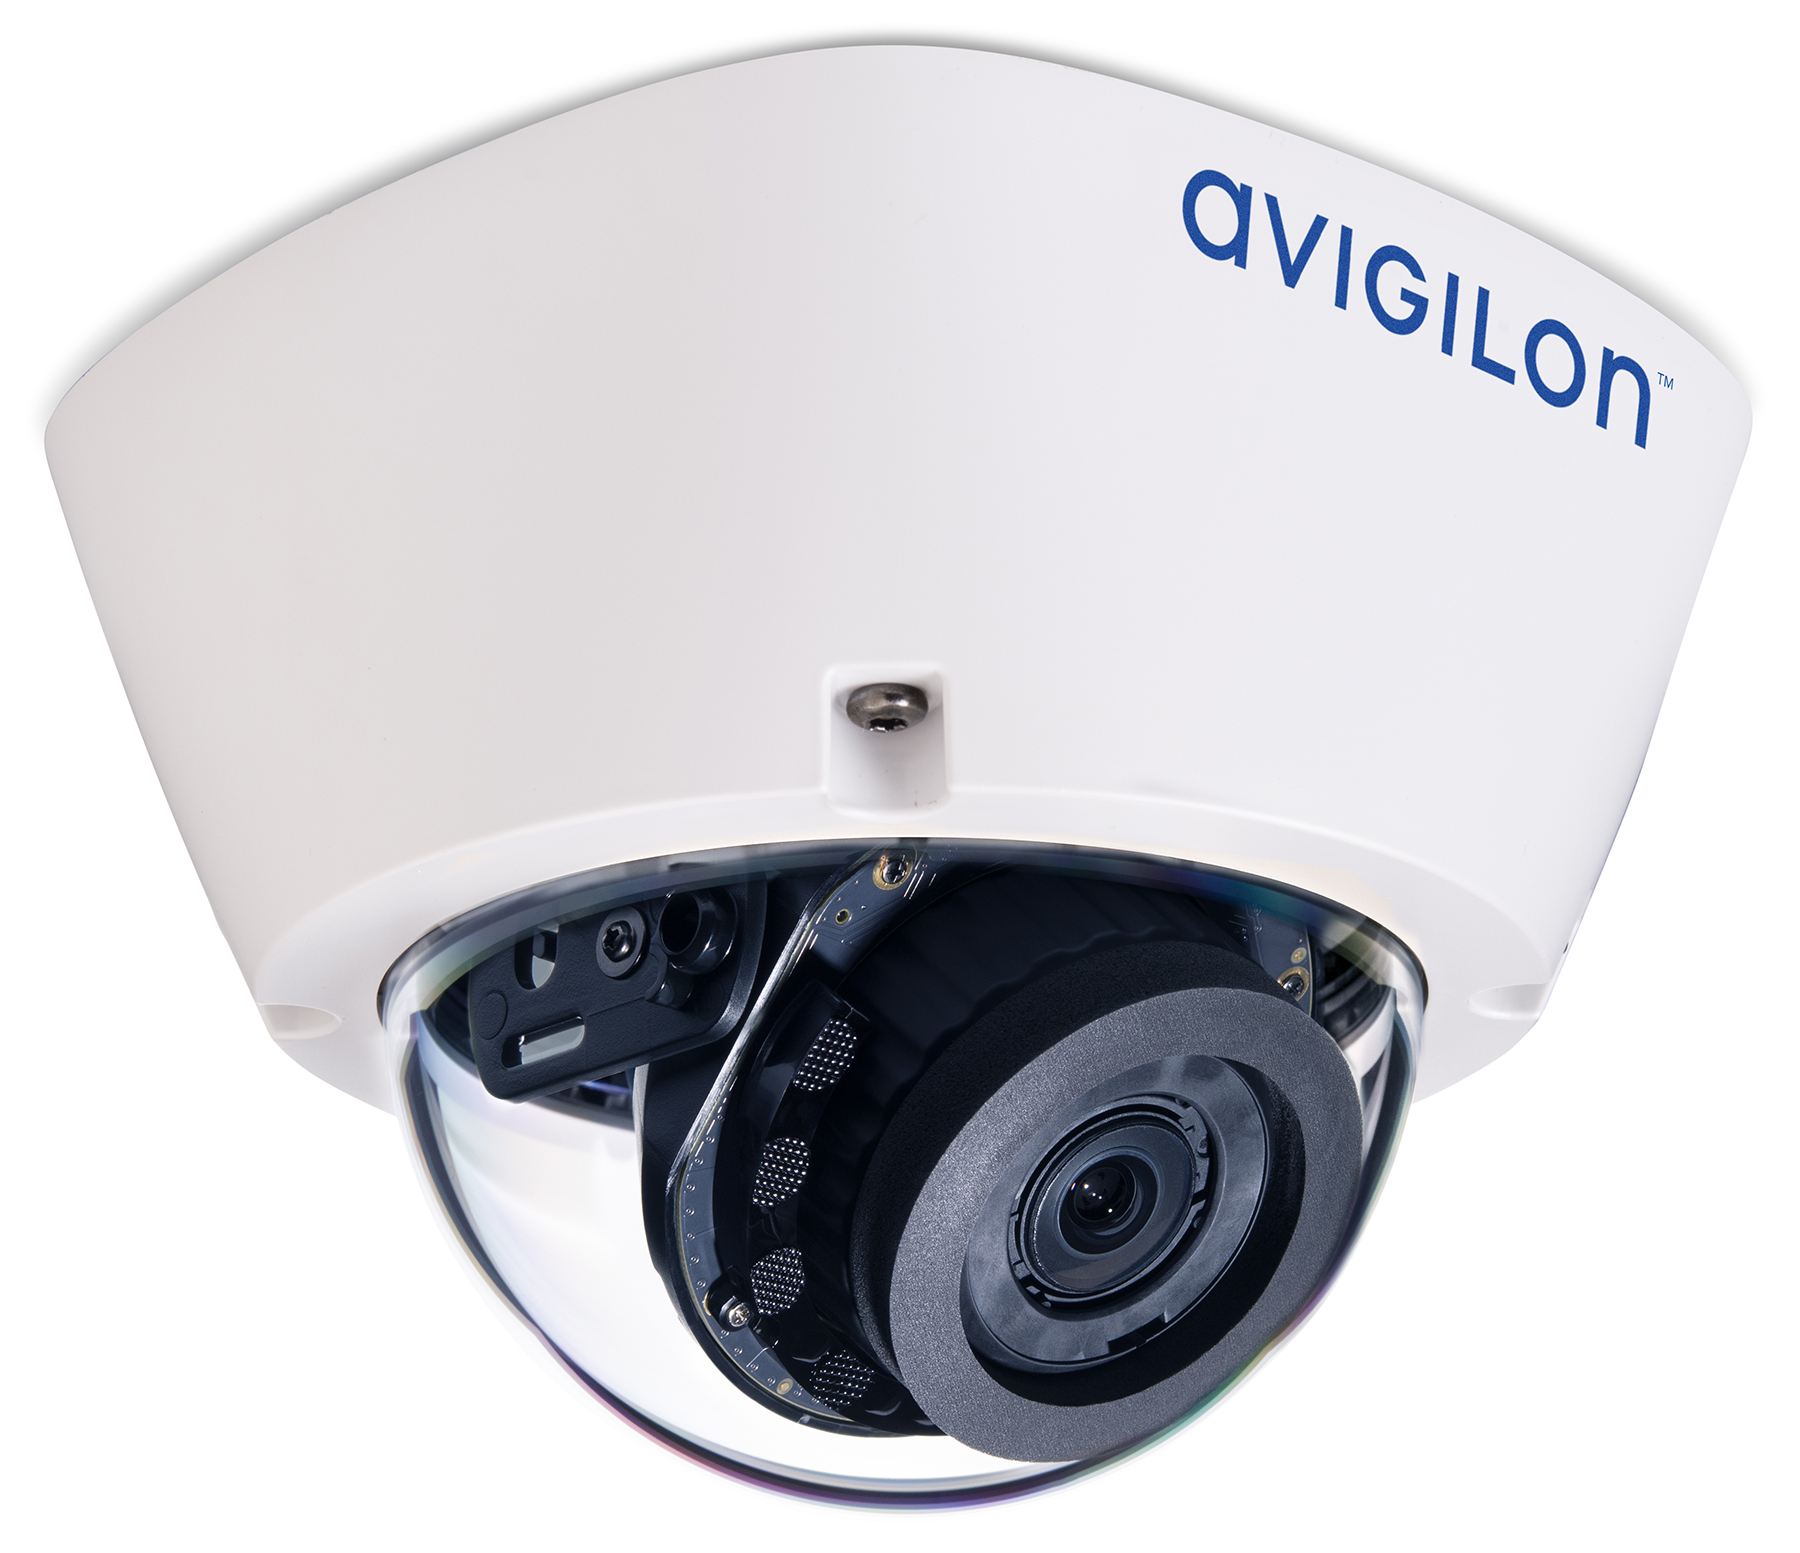
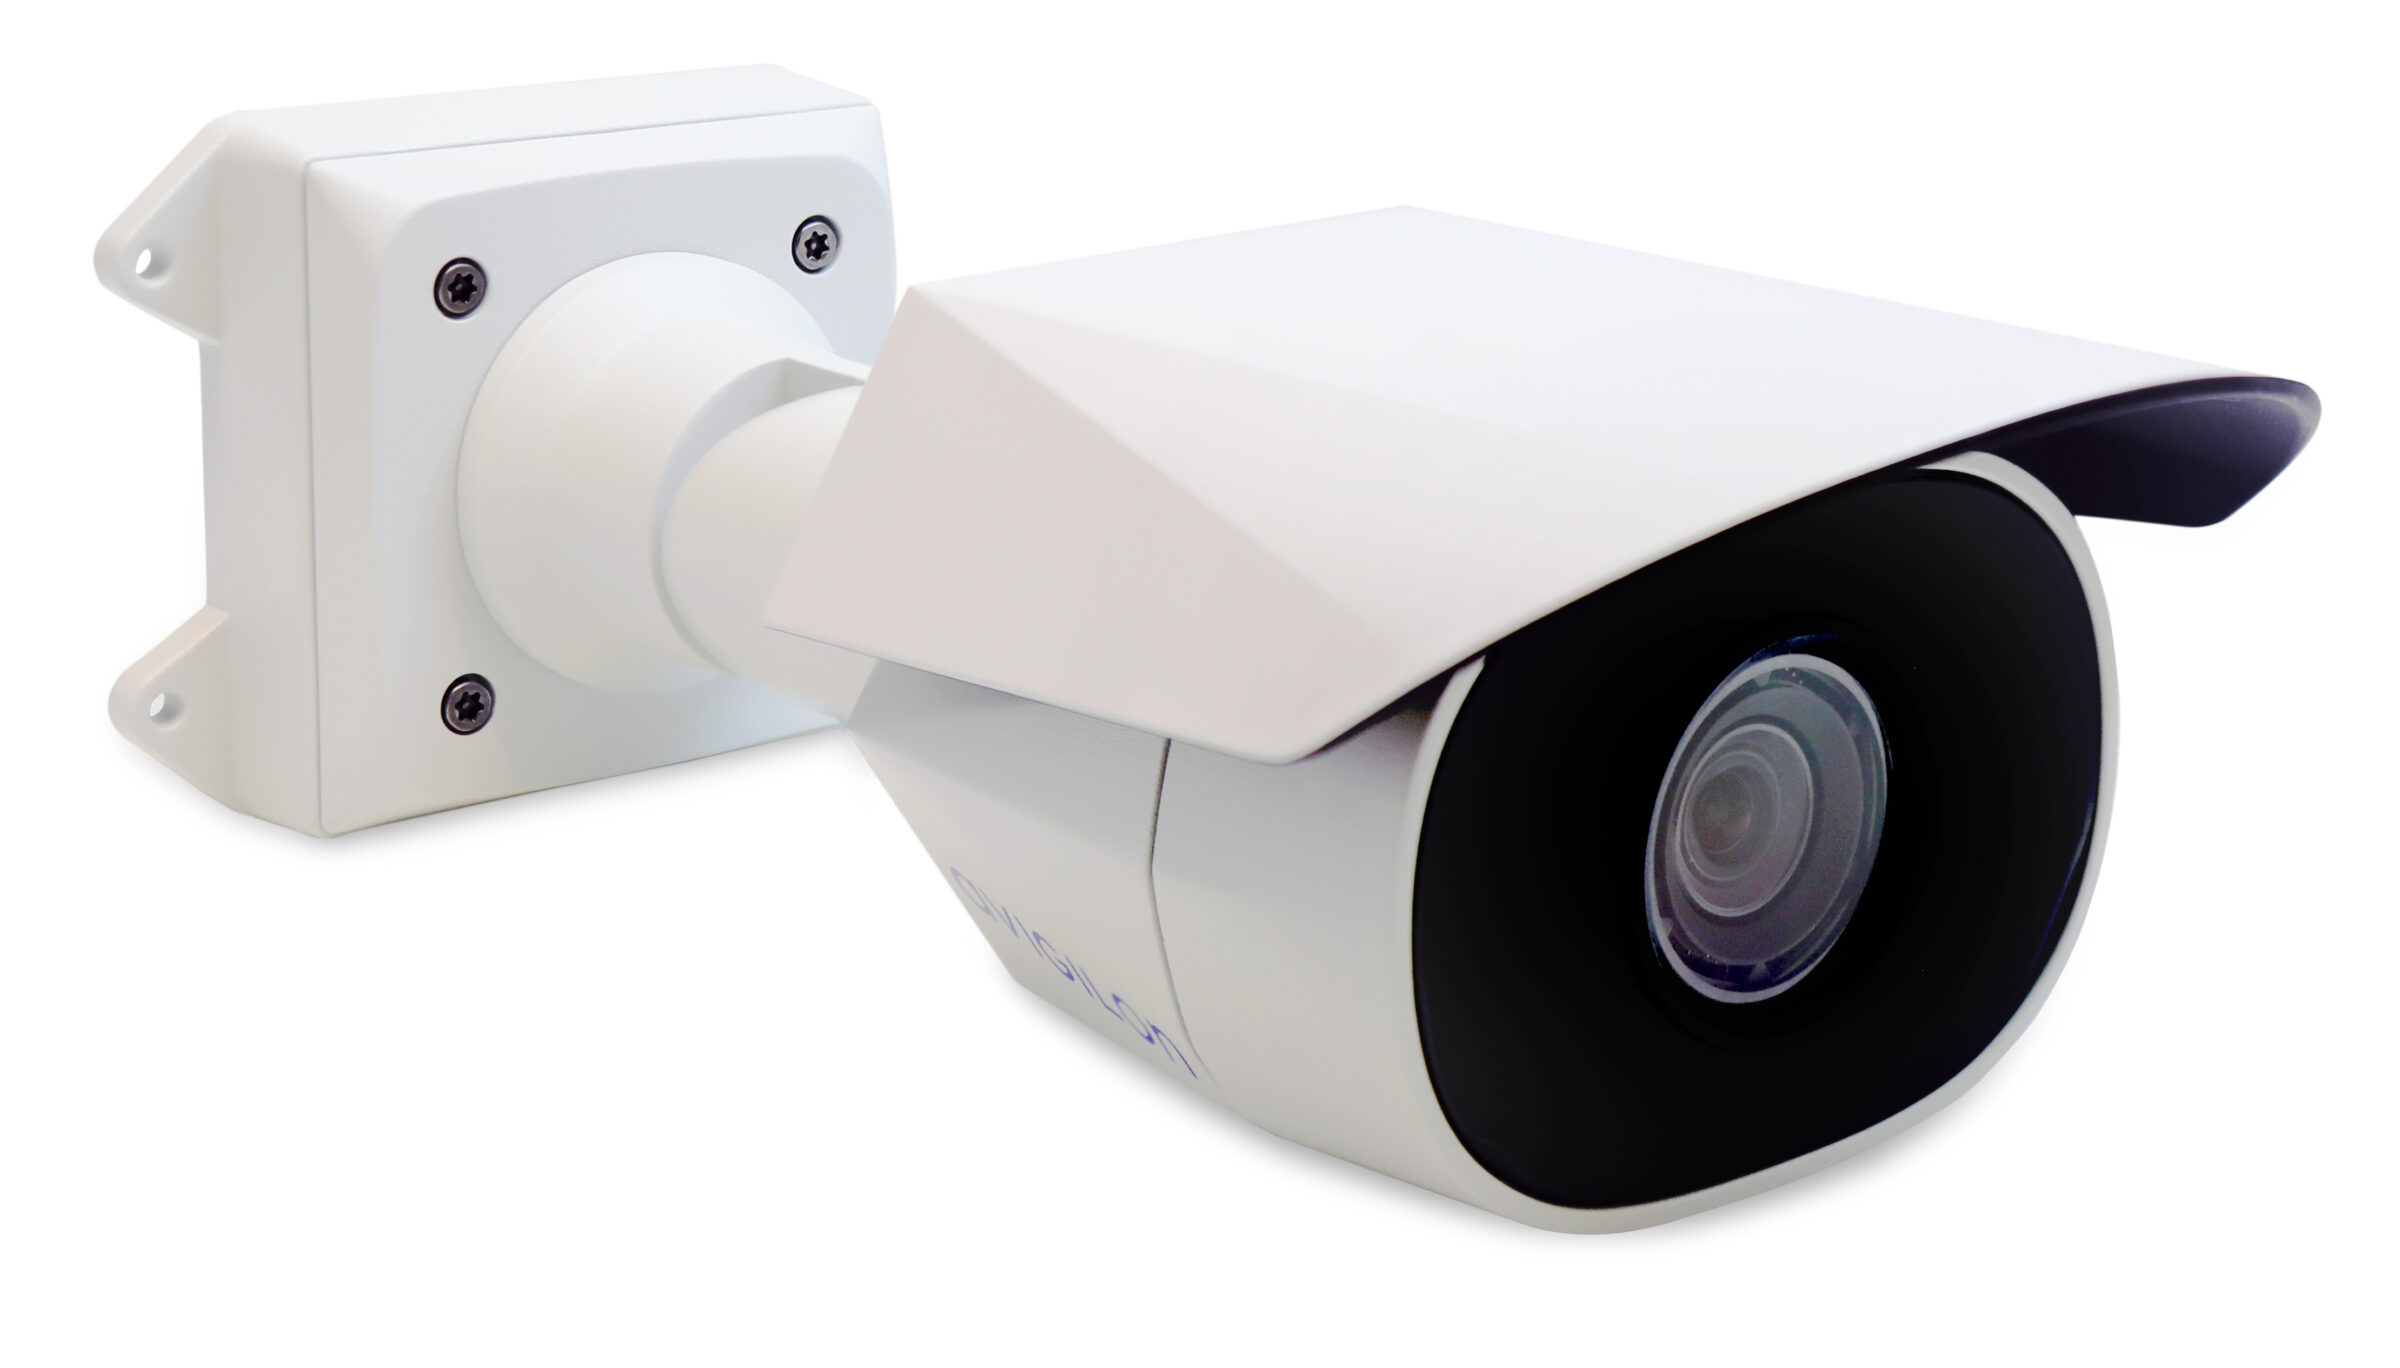
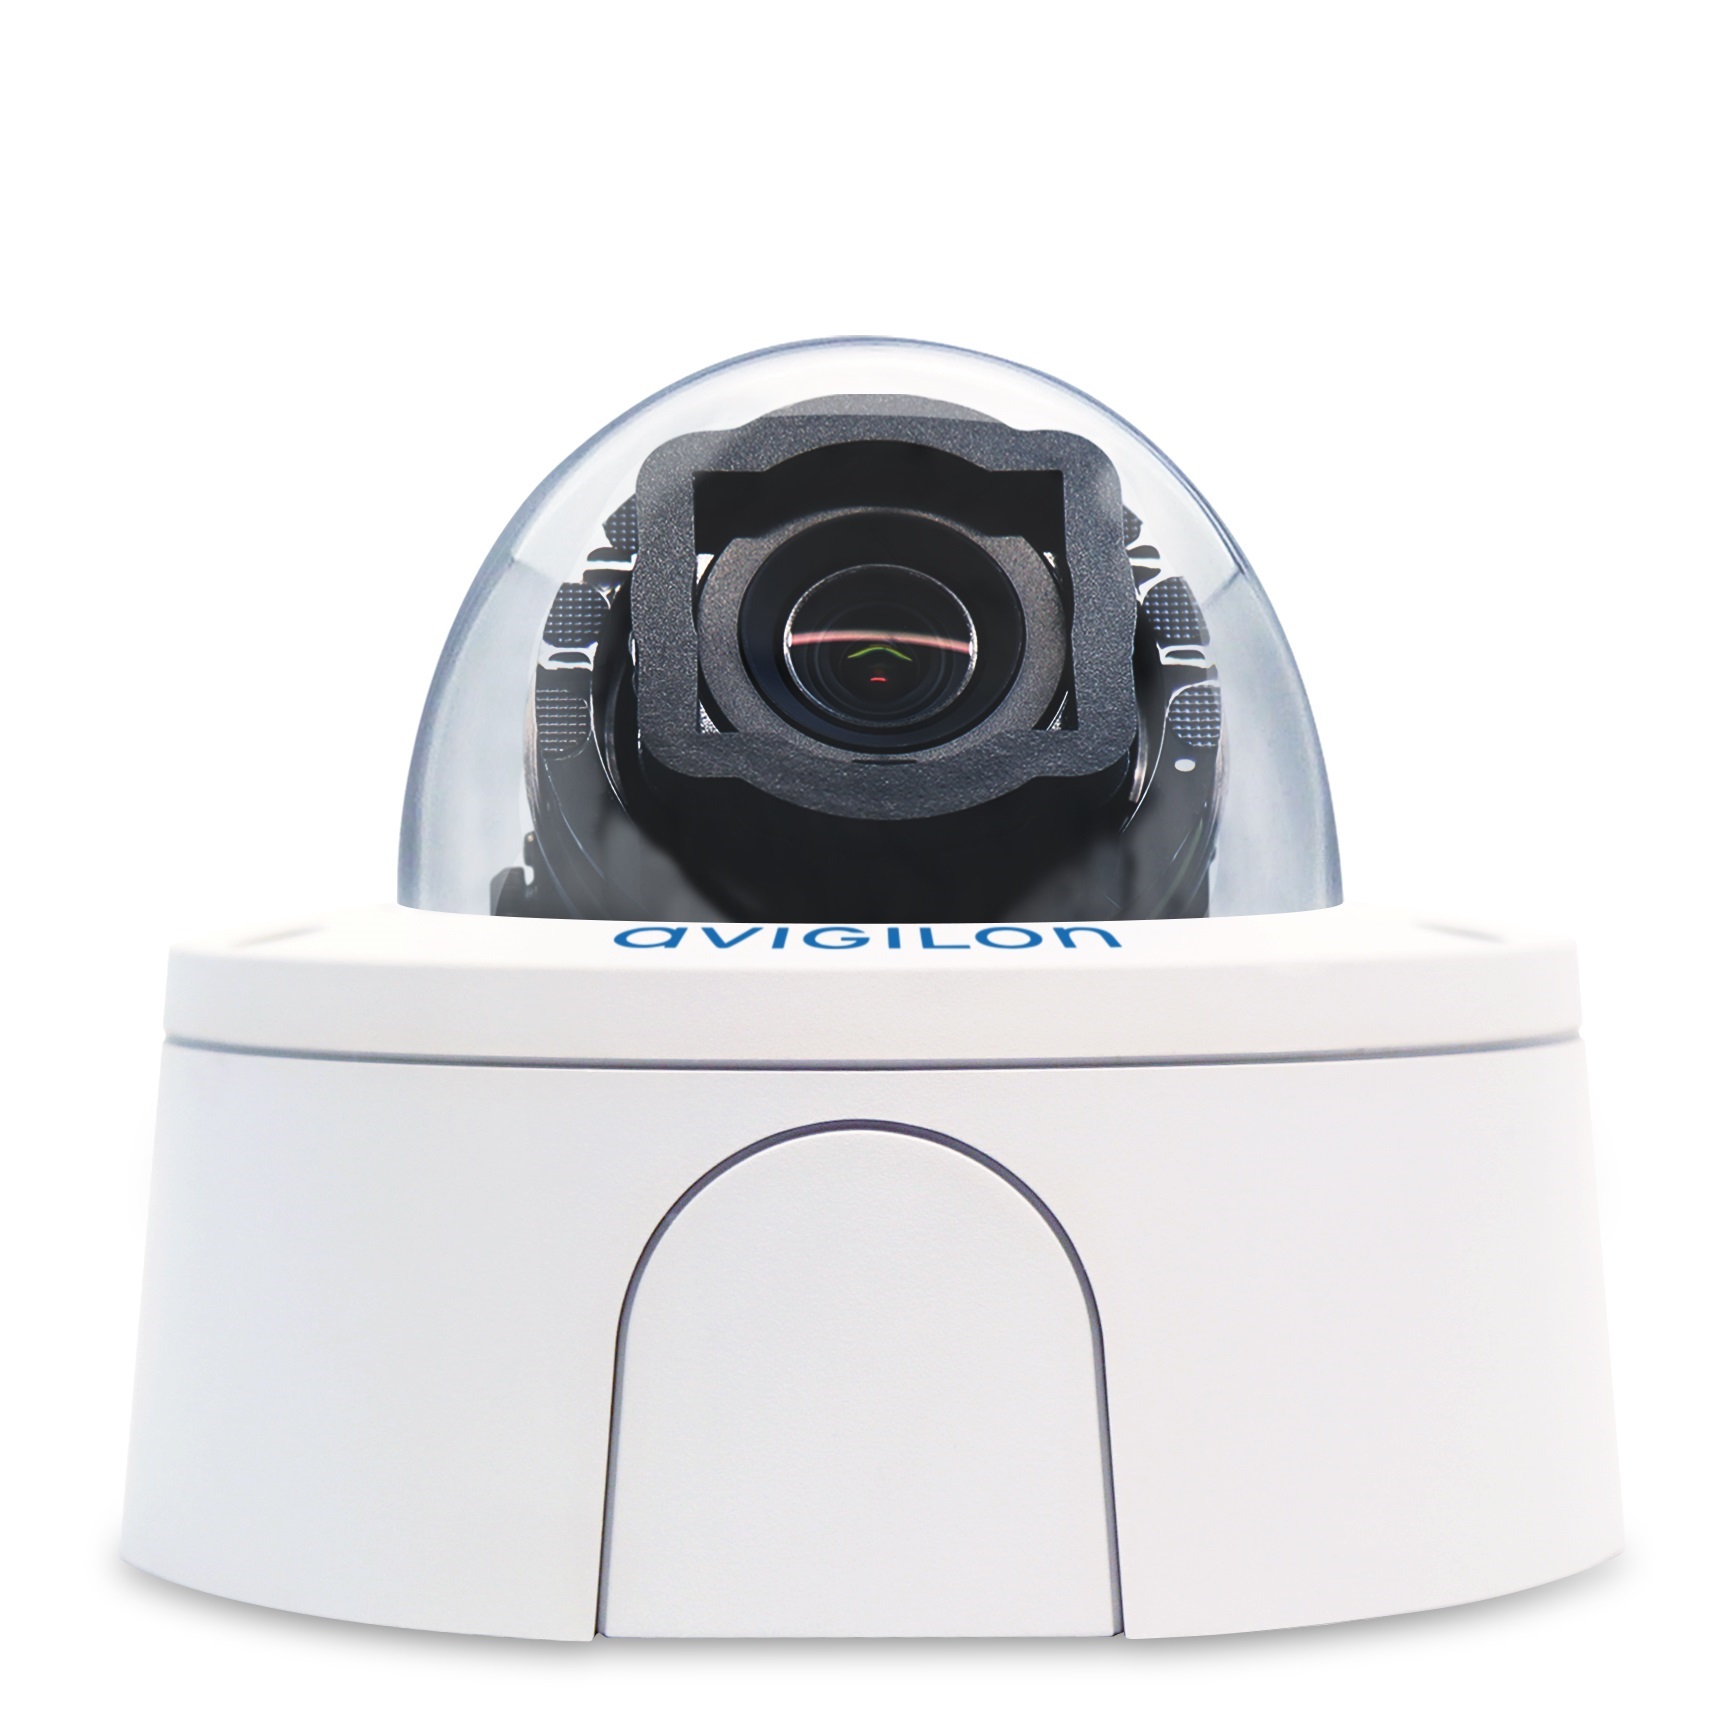
- Camera
- Sensor
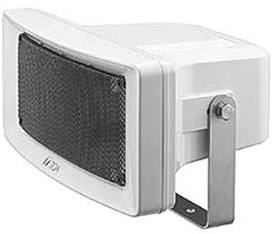
- Speaker
- Network
- UPS
- Patch Port
Hint: The CCTV Logbook logo at the top left of the page is your ‘Home’ button.
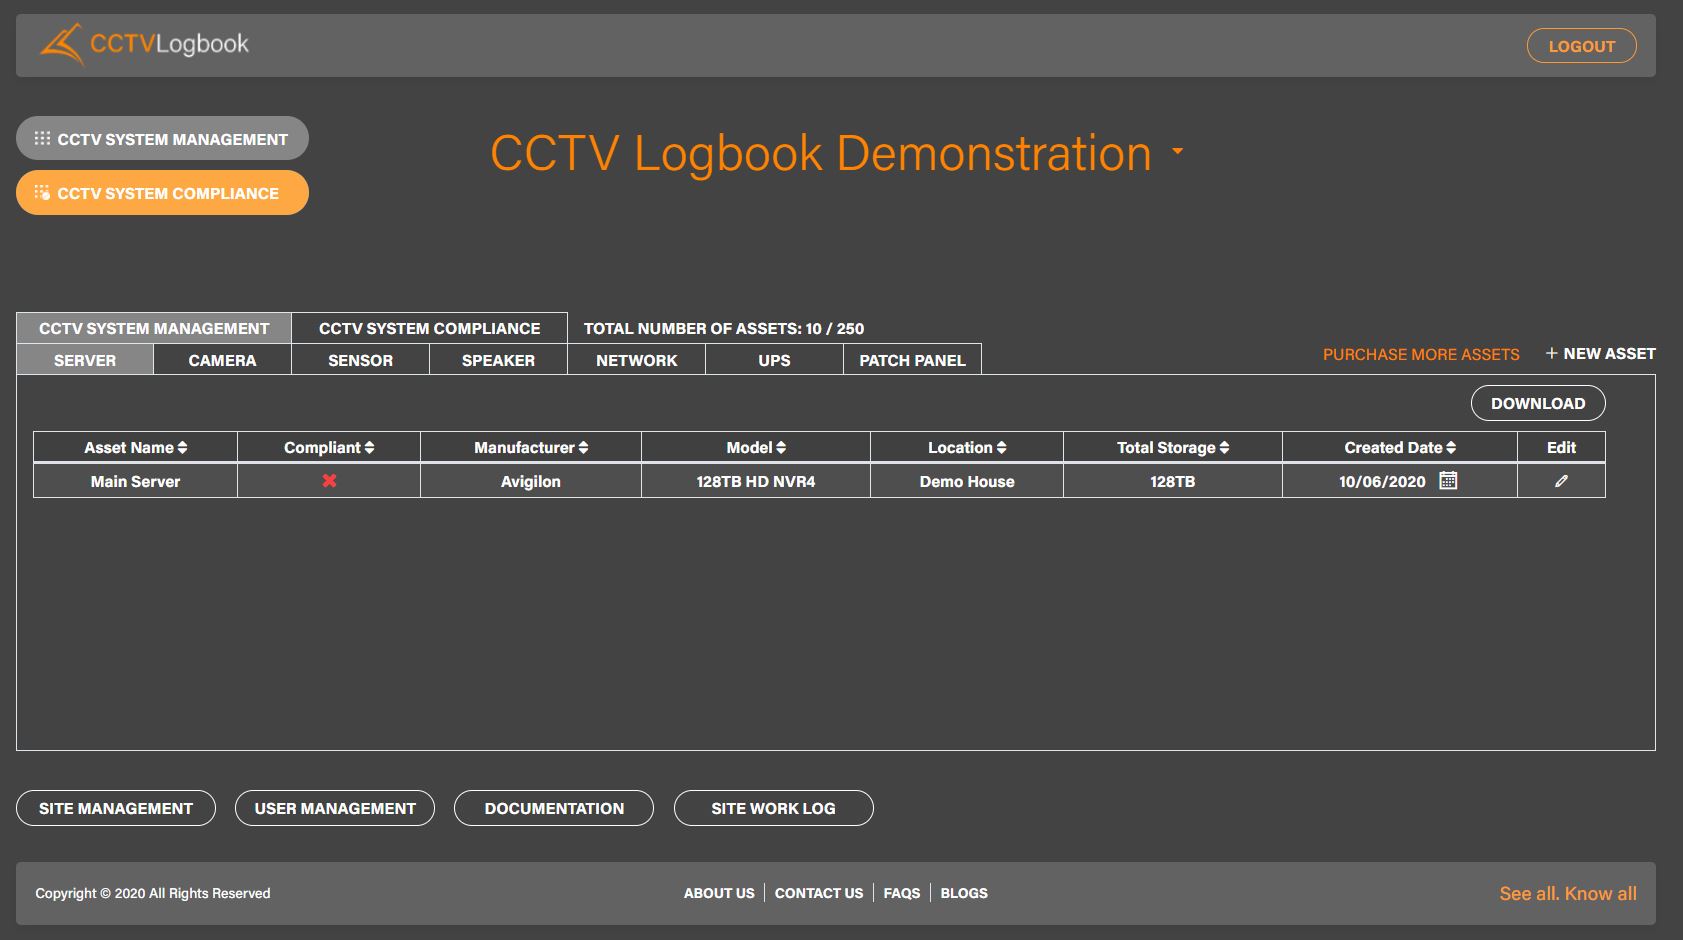
To help get you started on CCTV Logbook we will be adding assets for you, as well as providing a free tour of system and training. However, going forward you may want to add assets as you upgrade your CCTV system. To add an asset you simply go from the homepage, select the asset tab you would like to add and click on the + New Asset tab.
Top Tip: Populate all the information you have on these assets first:
- Sensor
- Speaker
- Network
- UPS
- Patch Port
This will save you time when populating the Server and Camera information as you will be able to choose the relevant asset connections from drop down lists within Server and Cameras sections.
The more information that can be completed the better but if there are some bits of information you are unsure of you can just type ‘TBC’ within the box so you are not stopped from adding the assets. You can then go back in as more information is known.
Once you get to your server and camera you will have a drop-down asset connection menu that will be populated so you can select the right information to complete all the assets information. For example, you can select which UPS and network the server is connected to. In respect of cameras you will be able to select and click on the relevant patch port, network, server and sensor that it connects to if all of these assets have already been added thereby giving you a full picture of your CCTV system.
You will also add the installation date of each asset you as go and there is also the option to choose a frequency for reviewing the asset. This could be weekly, monthly and quarterly. By having this it can help you maintain your system better. You can then save all this information at the bottom of the screen.
Remember that the portal has the capacity to manage multiple sites for each user and you can define areas within your property if that helps you manage your CCTV system better. You can manage the sites through site management page of the portal.
Maintaining your system:
The Site Work & Document Log
Within each asset you have the facility to add work logs and documents, the information for the work logs and document is then populated in the Site Work Log and Document tabs at the bottom of the homepage. Every assets page will show the installation date and the date of any last check as this is added and also continue to show how often you want to review it. On a camera page you can also have an image saved that shows you the field of view of the camera in both daytime and nighttime views, so if at any point you notice that camera views are not correct you know the view that it was originally set to.
Additionally, as work is carried out, either by you or external engineers, this information can be added to the work log and it can be used as your tool for signing off any work and approving it as complete. The fact that all the information about a camera and which patch panel or network it is connected to will now be at your fingertips – and at the fingertips of engineers who can log in – this will save time when maintenance is being carried out. To ensure that all devices are kept maintained all documents relating to them, such as user manuals, can be uploaded and going forward any documents that are related to cameras and any other assets can be added.
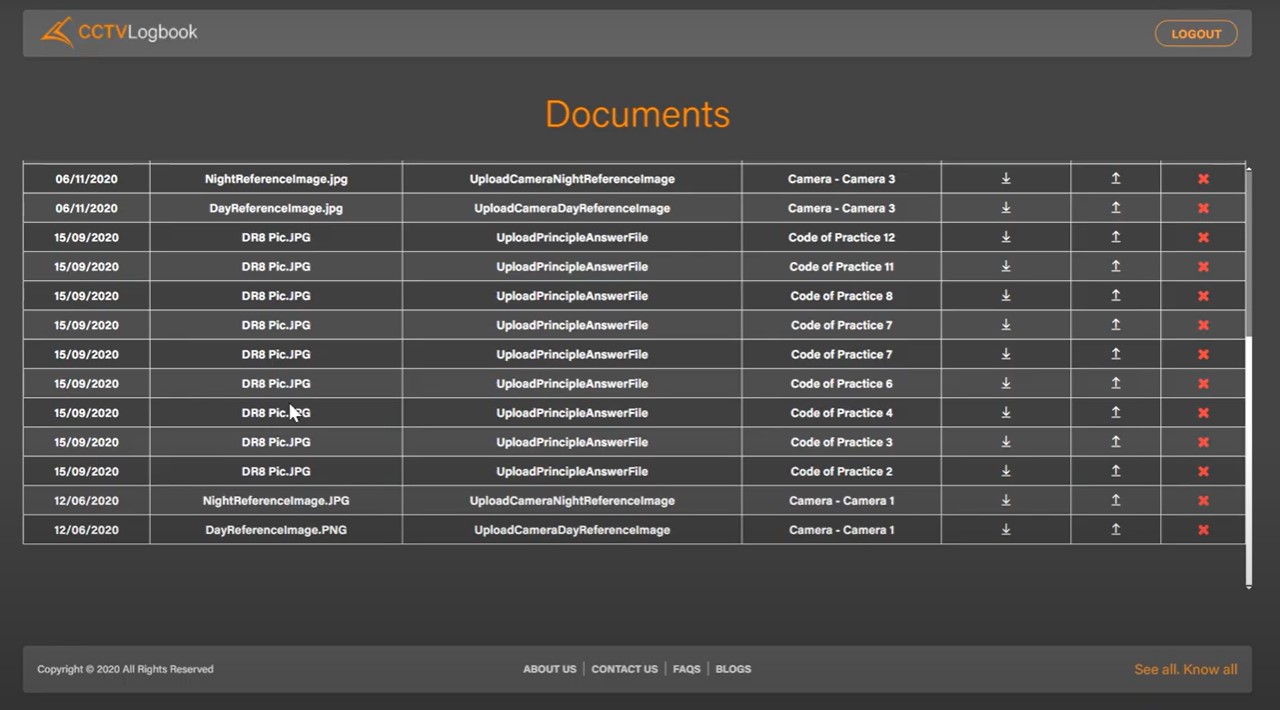
Back on your portal home screen you will see at the bottom a site work log tab this will populate for all your assets in one handy place. Additionally, at the bottom you will see a tab for the documents that you have uploaded. This includes the camera images, manuals, and could include receipts or invoices for work if you believe that would be appropriate. Remember these pages can be managed exactly how you want to manage them based on how you allow access to the system.
IT team members will understand more about the needs of the CCTV system if they are users while engineers that have access will be able to update the information easily. All the users are clearly visible within the portal under the user management page.
Comply with the 12 Guiding Principles of the Surveillance Camera Code of Practice
As well as being an asset management tool the online portal can be used as a compliance tool as well if you sign up to our compliance package. This is based on the Surveillance Camera Code of Practice, which provides a set of 12 Guiding Principles for organisations looking to use CCTV to ensure they do not cross over from providing protection and support for individuals and communities to being seen as breaching their human rights, particularly their right to privacy.
Many of the requirements laid out in the Guiding Principles are contained within the Data Protection Act 2018 (DPA 2018). This incorporated the General Data Protection Regulation (GDPR) and this law is enforced by the Information Commissioner’s Office (ICO). CCTV Logbook can help you meet best practice compliance and legal obligations if you sign up to our compliance package.
1. Purpose
Use of a surveillance camera system must always be for a specified purpose.
2. Privacy
The use of a surveillance camera system must take into account people’s privacy and be regularly reviewed.
3. Visitors
There must be a published contact point for access to information and complaints about the CCTV system.
4. Roles
There must be clear responsibility and accountability for all surveillance camera system activities.
5. Policies
There must be clear rules, policies and procedures for all surveillance camera systems.
6. Retention
No more images and information should be stored than is required for the stated purpose of the CCTV system.
7. Access
Access to retained images should be restricted and there must be clear rules on who can gain access.
8. Standards
CCTV operators should consider any approved operational, technical and competency standards relevant to a system.
9. Safeguarding
There should be appropriate measures to safeguard against unauthorised access and use of the CCTV system.
10. Reviews
Review and audit mechanisms in place to ensure legal requirements, policies and standards are complied with.
11. Evidence
The CCTV system should be used in the most effective way to support public safety and law enforcement if necessary.
12. Technology
Data used to support a CCTV system which compares against a database should be accurate and kept up to date.
Click here now to book a product tour – No Credit Card details required.